Get Started with WiLine 2gether
This guide walks you through accessing WiLine 2gether for the first time — from logging in with your WiLine credentials to entering the virtual office and claiming your desk.
Access 2gether
To open WiLine 2gether in your browser:
- Open the 2gether Portal URL in your browser. The login screen appears.
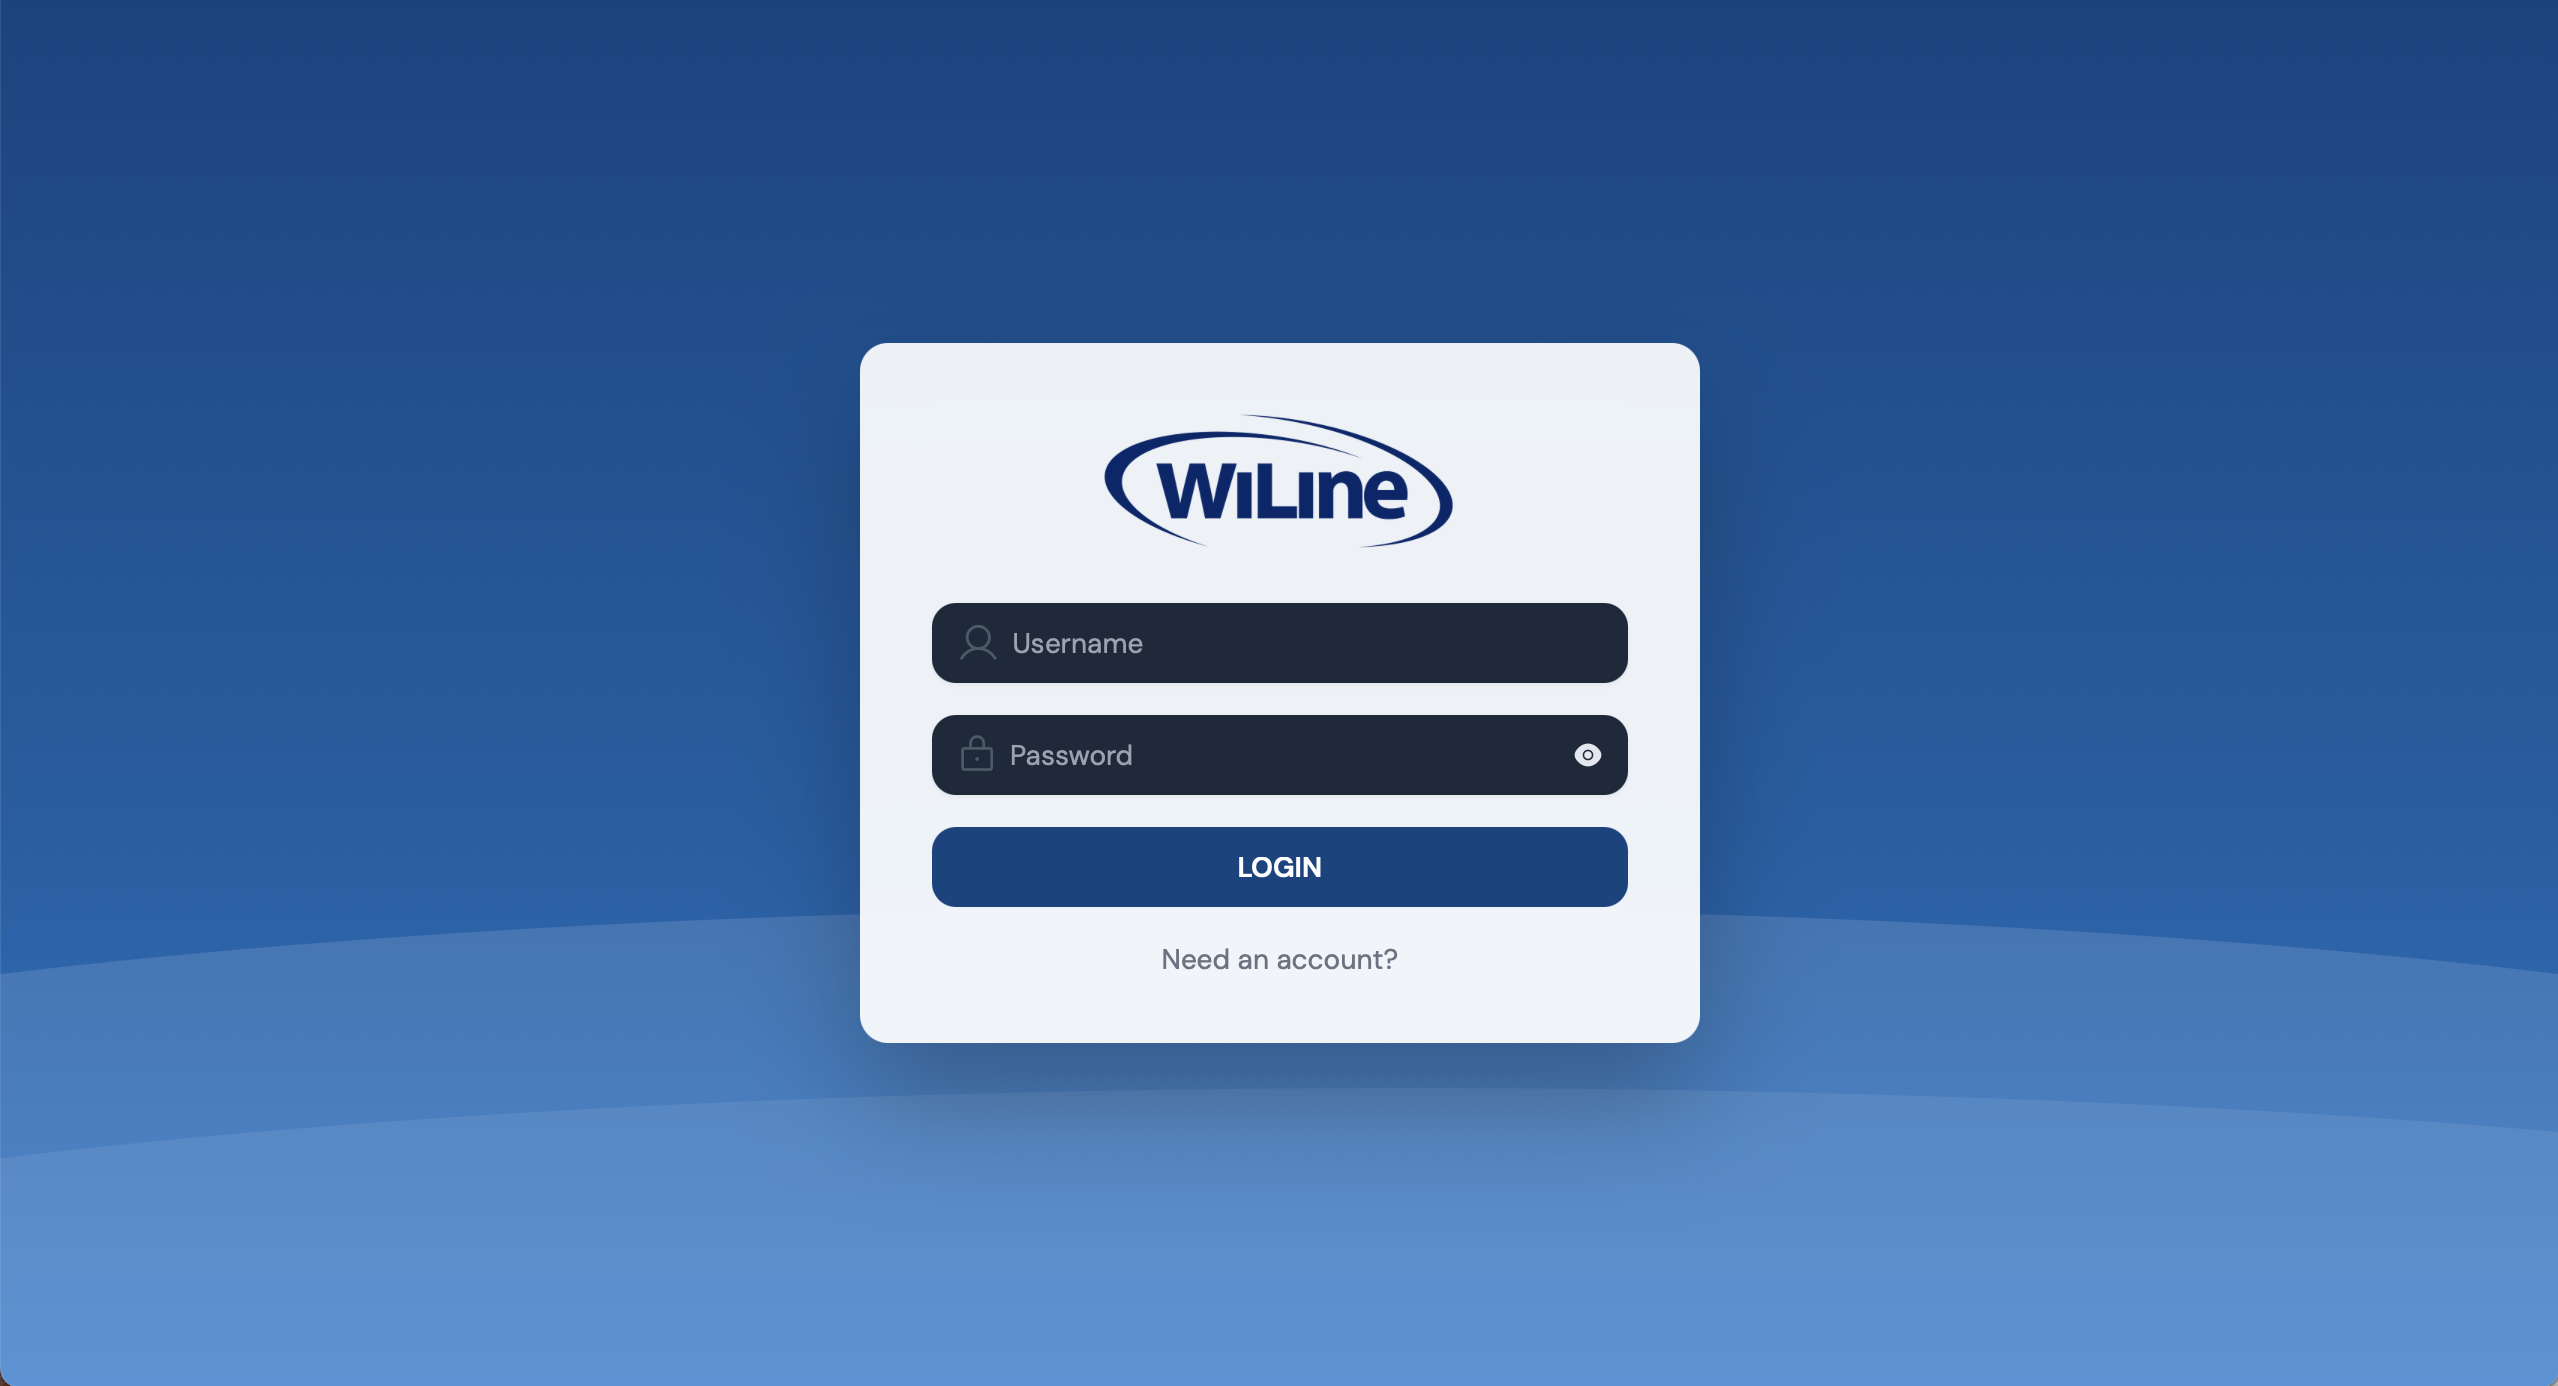
Log In
Log in with your WiLine credentials — the same username and password used for the WiLine portals:
Click Login to continue.
If you haven't received your login credentials, contact your local admin first. For further assistance, submit a ticket through Contact Support.
Select a Virtual Space
After logging in, the Spaces screen shows all virtual spaces available to your account.
- Locate the space assigned to you (e.g.,
WiLine_Virtual_Space). - Click the space card. This opens the device setup process.

Enable Microphone and Camera
2gether requires access to your microphone and camera before you can enter the office.
Allow both when prompted by the browser. If access was previously blocked, enable it manually in your browser's site permissions.
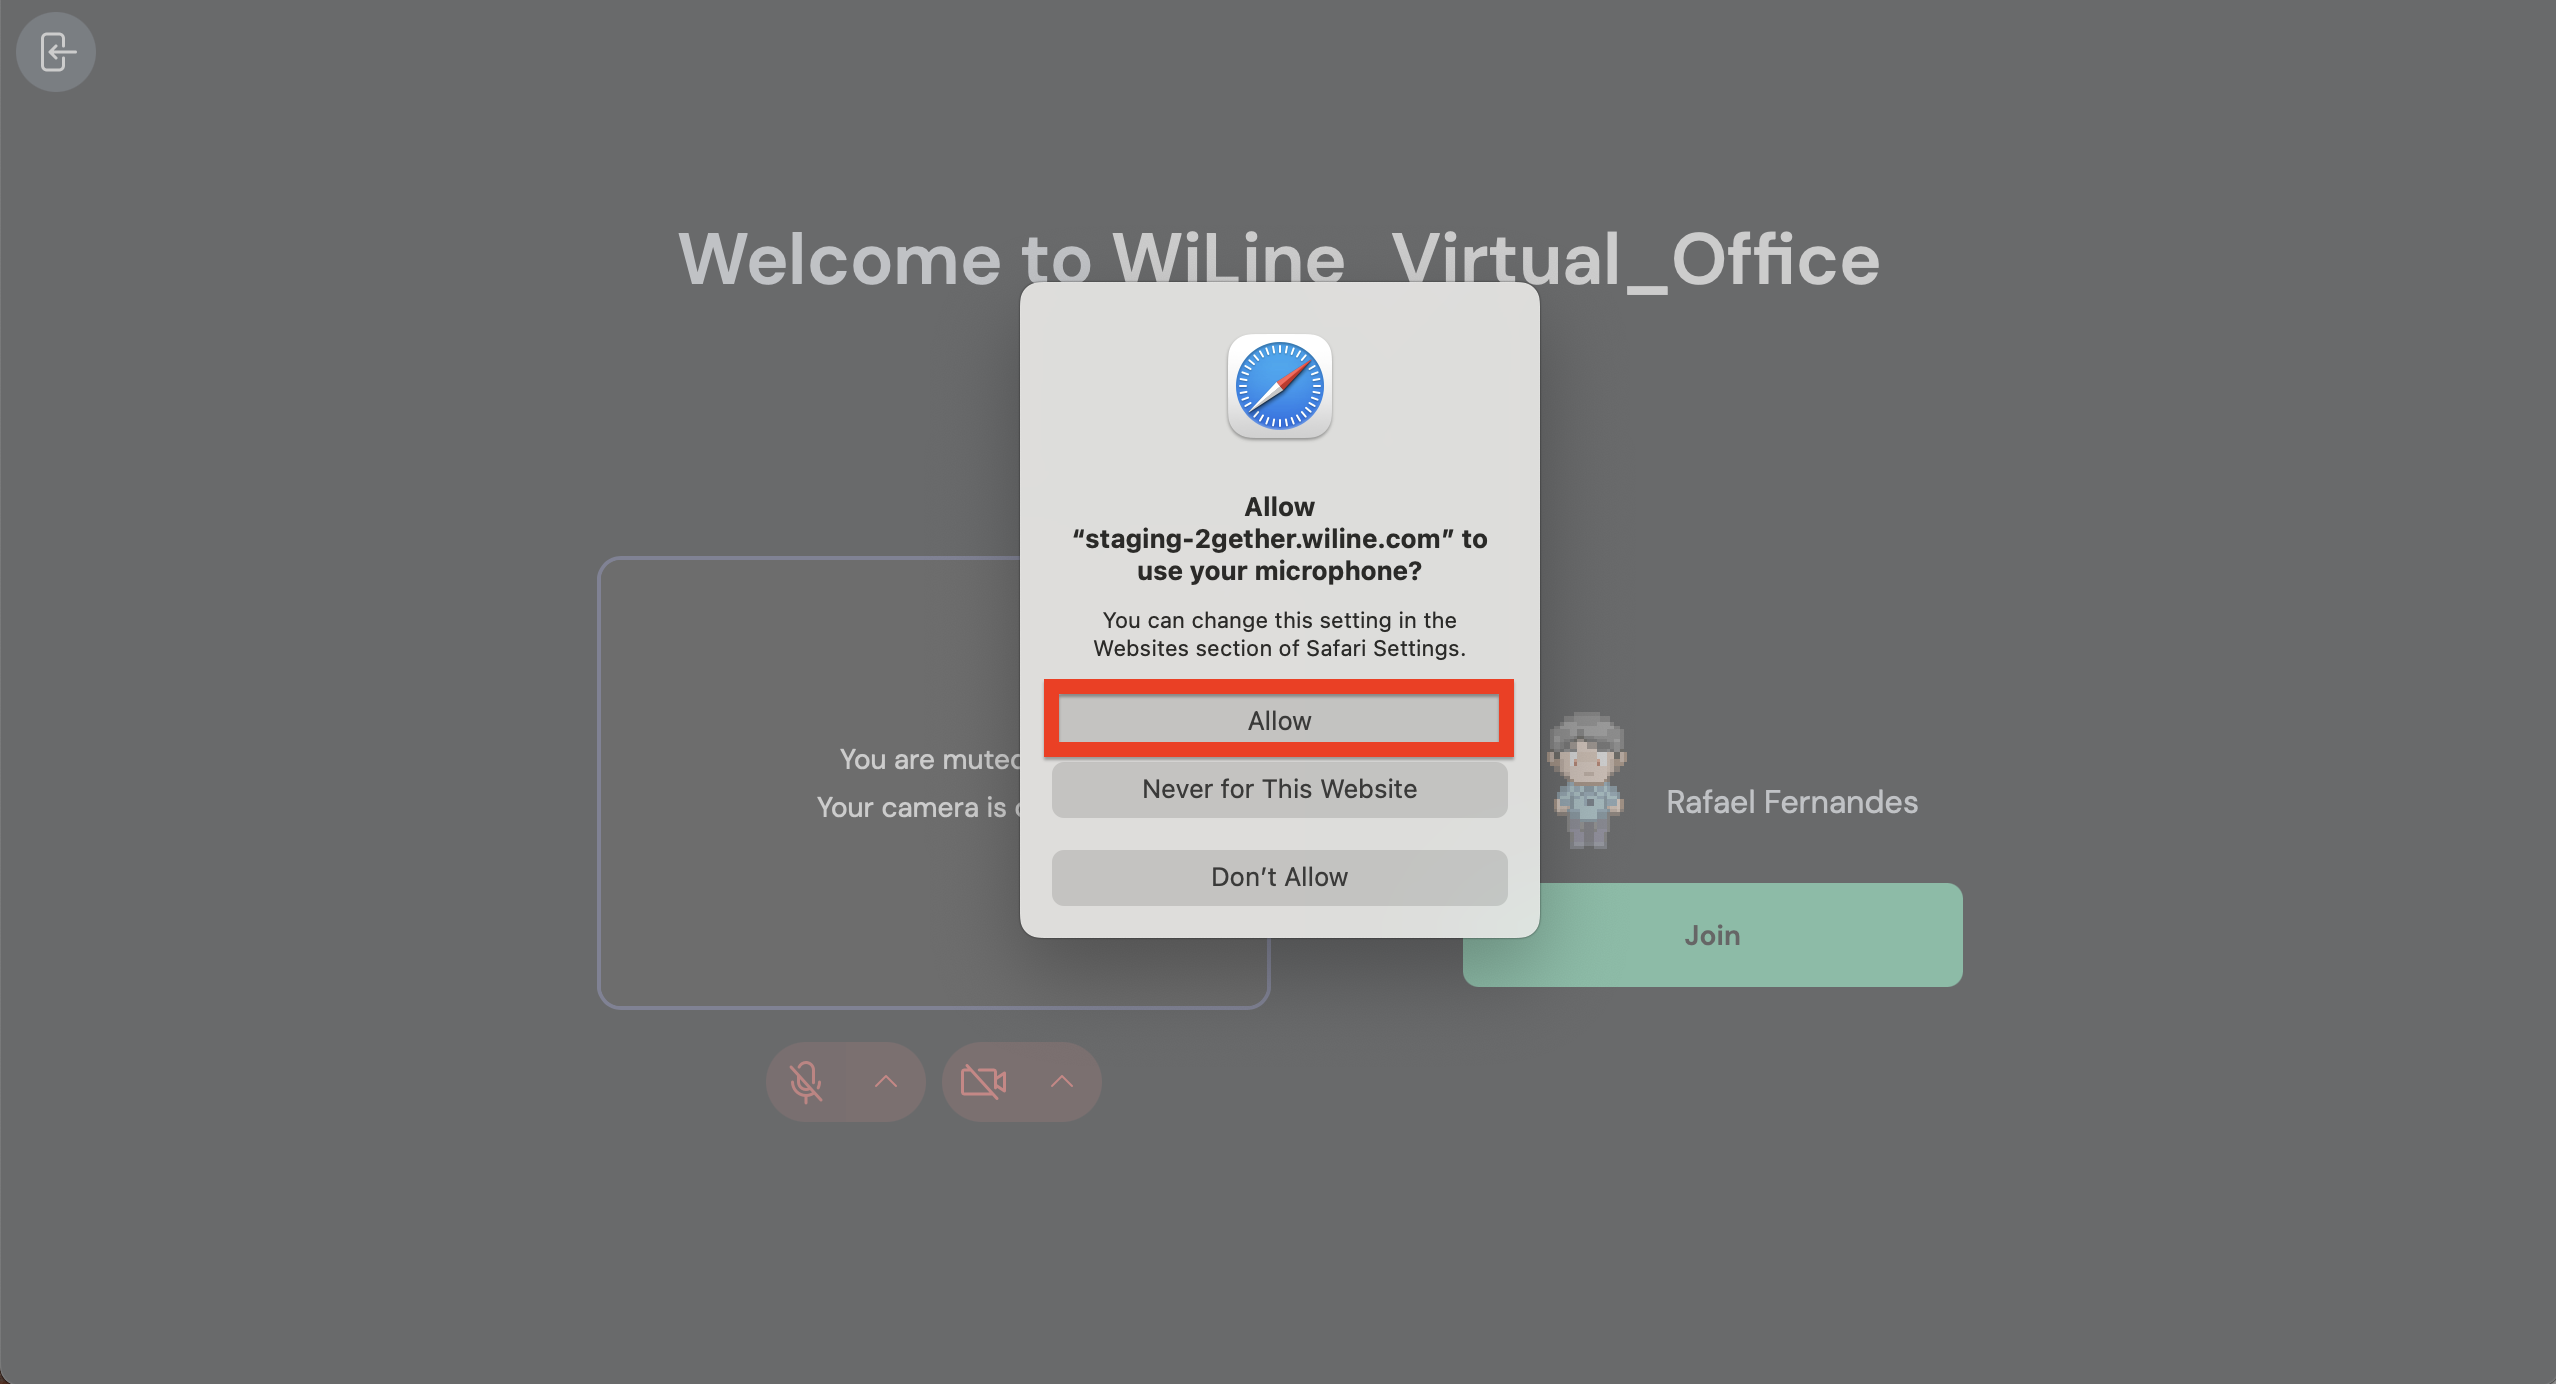
Once both are active, click Join.
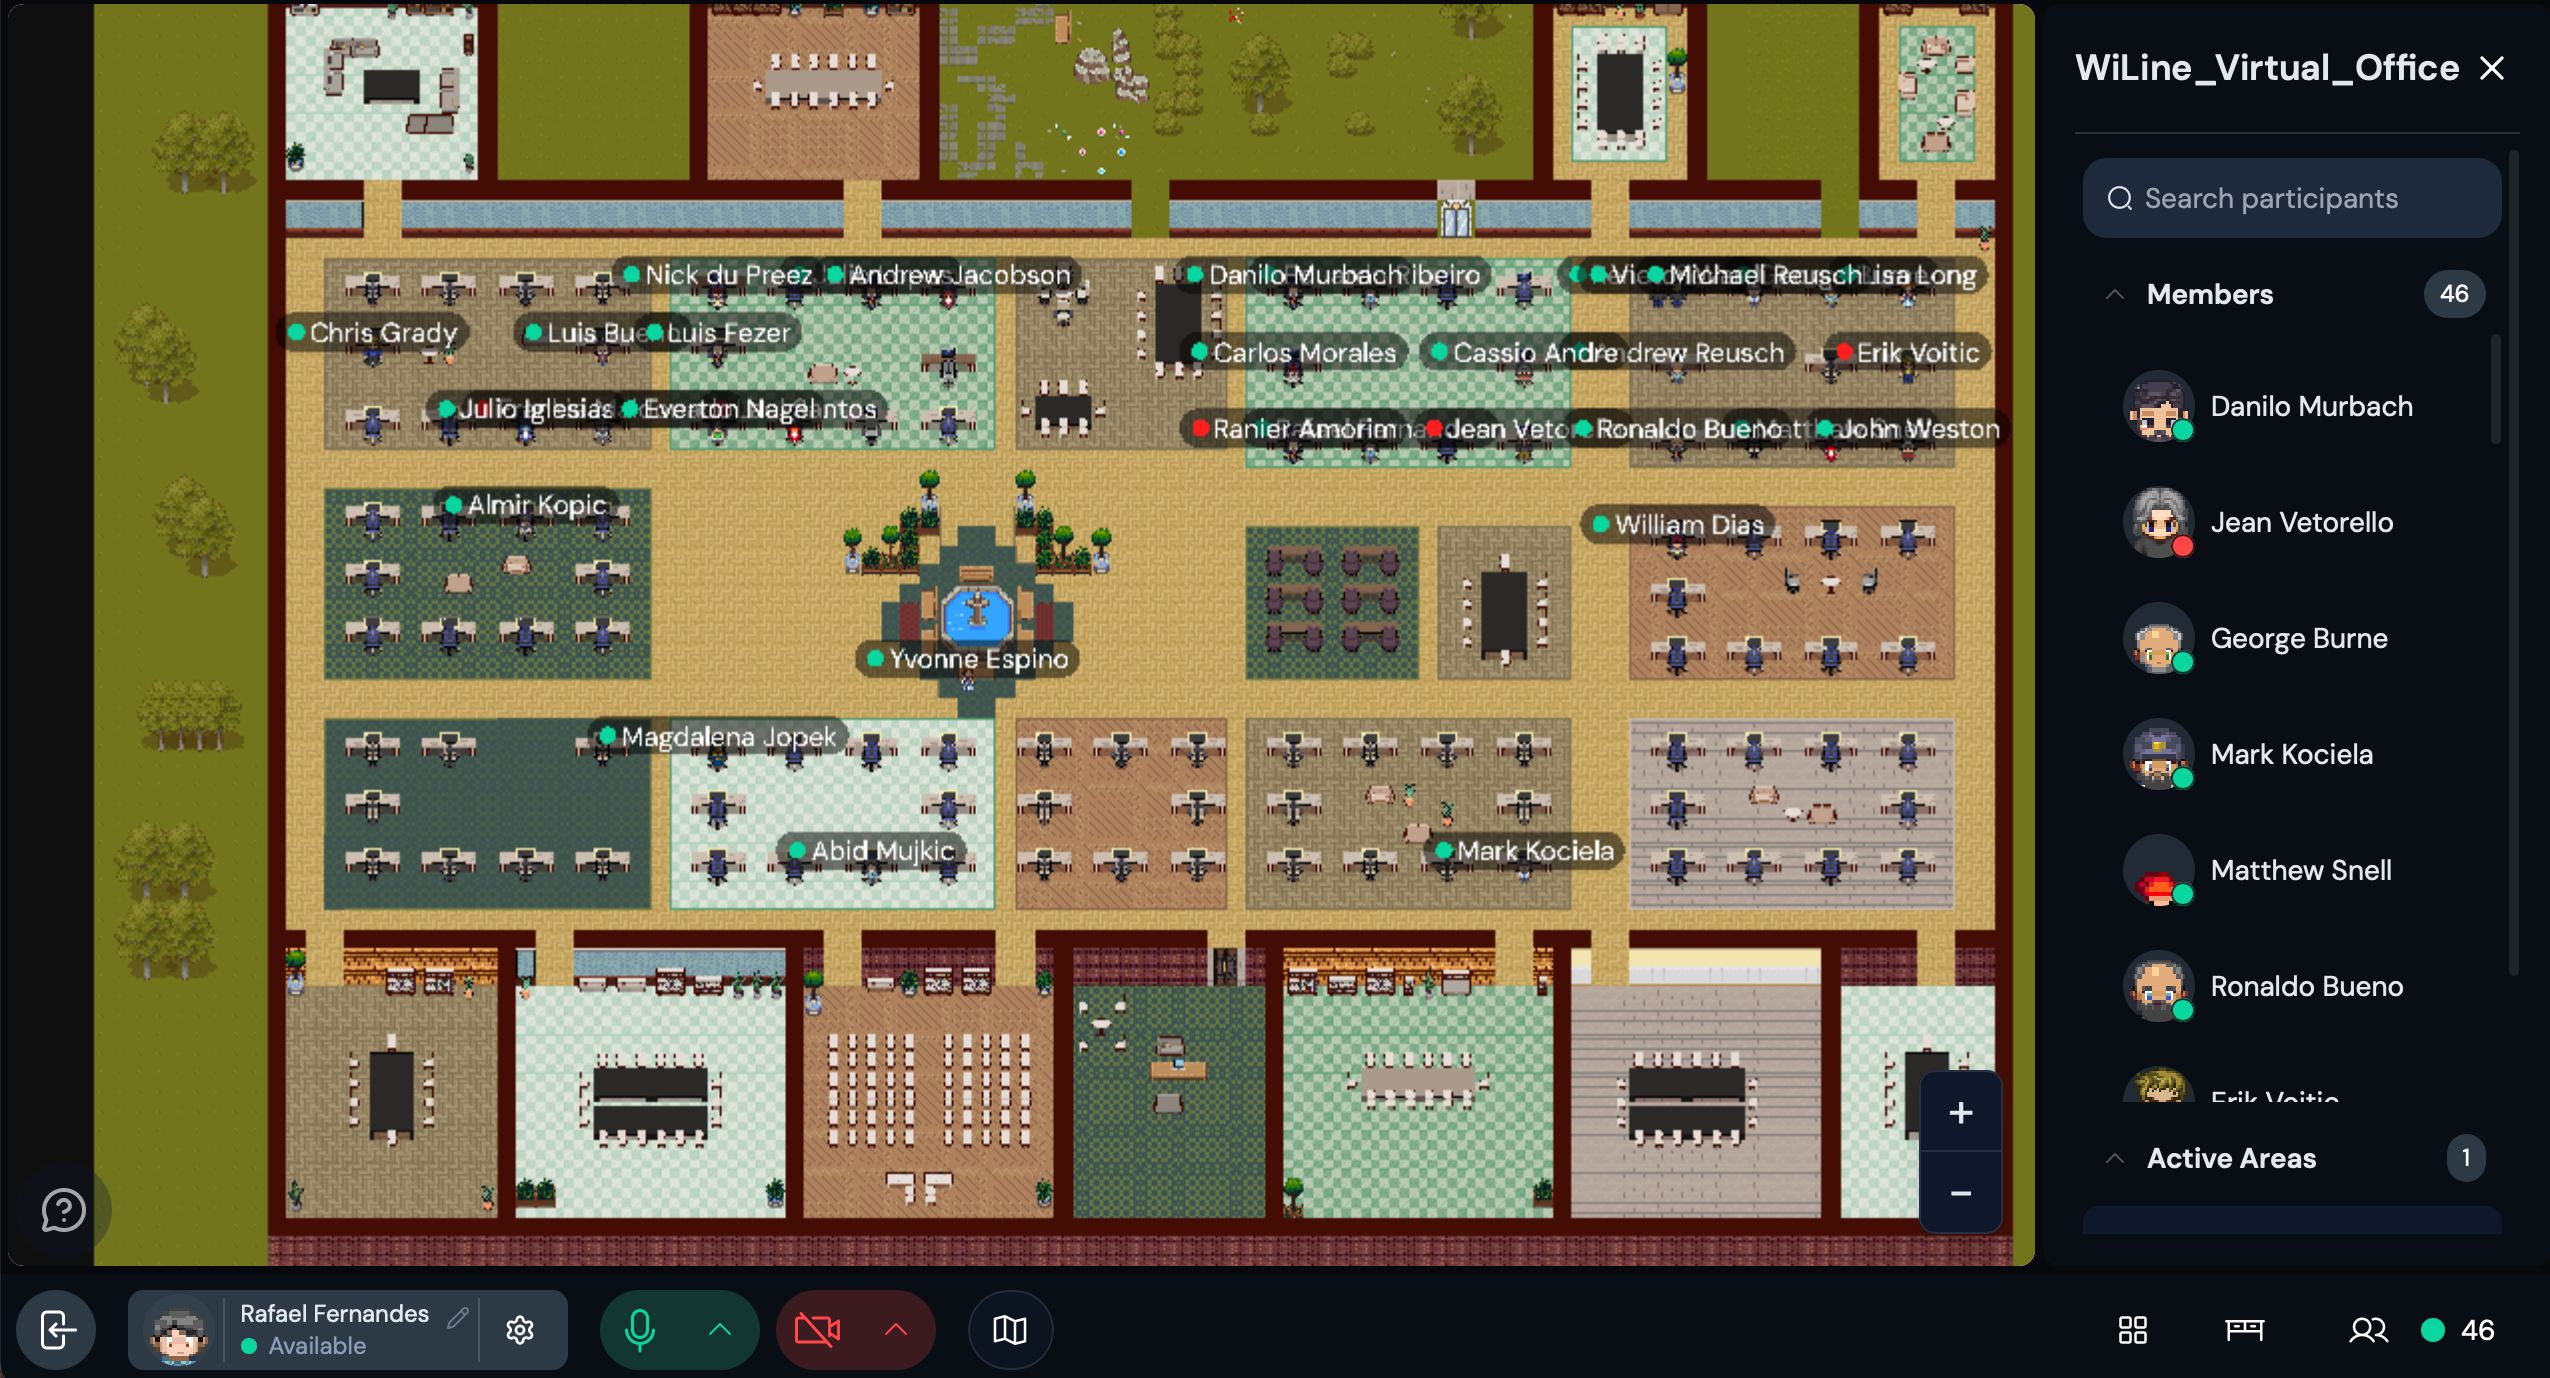
Enter the Virtual Office
After clicking Join, the WiLine virtual office opens. On your first entry, no desk is assigned yet — claim one in the next step.
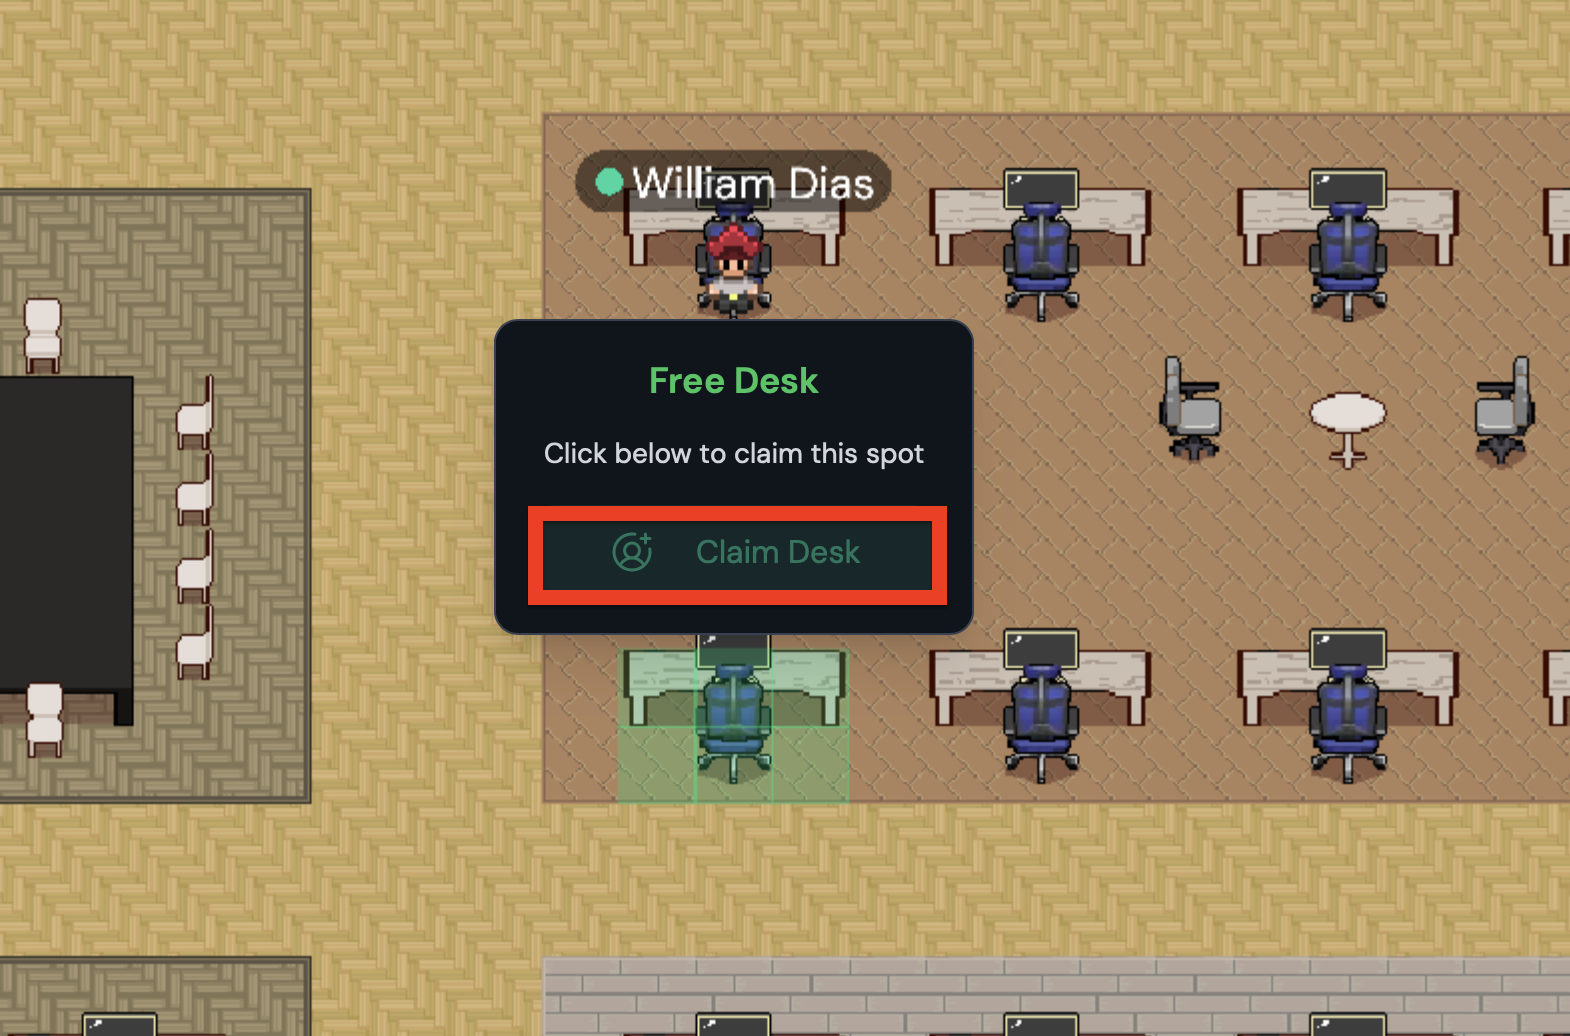
Claim Your Desk
To claim a desk before using the space:
- Locate an available desk — one that is not already claimed.
- Click the desk.
- Select Claim Desk.
Once claimed, the desk stays assigned to you on every return.
Setup is complete. Work from your virtual desk, communicate with colleagues in real time, and use 2gether as your daily virtual office.