Customize Your Room
Customize Room lets you place, move, and remove furniture and decor in your virtual space — changes are saved automatically and visible to all participants.
Open the Customize Panel
To open the customize panel:
-
Open the 2gether Portal URL in your browser, log in, and enter a virtual space.
-
Click the Customize Room button in the bottom navigation bar. The panel opens on the side of the screen.
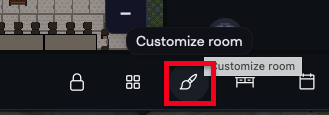
Figure 1. Customize Room button in the bottom navigation bar. -
Click any category to expand it and browse available items:
Category Contents Chairs Office chairs, lounge seating Desks Standing desks, workstations Furniture Sofas, shelves, cabinets Electronics Monitors, TVs, whiteboards Plants Indoor plants, trees Lighting Lamps, overhead lights Carpets Area rugs, floor mats Decor Art, signs, accessories 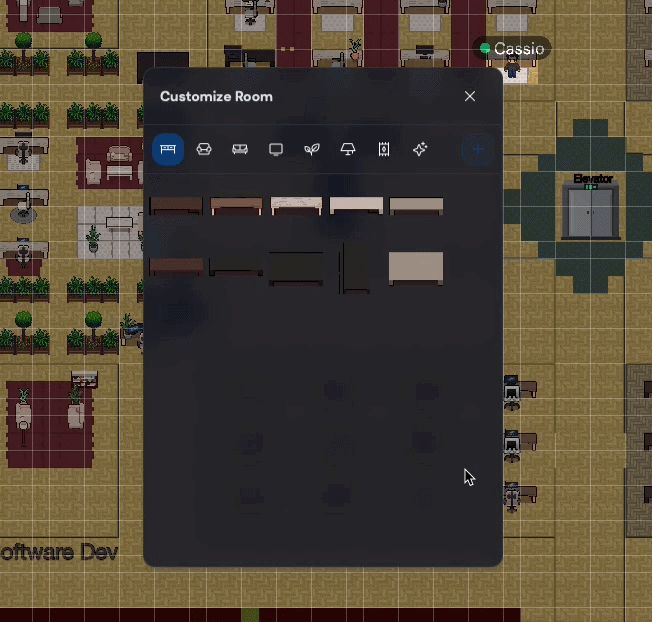
Figure 2. Browsing item categories in the Customize Room panel.
Add Items to Your Space
To add an item to the space:
-
Click an item in the panel — it attaches to the cursor.
-
Move the cursor to the position in the room where the item should go.
-
Click to place it.
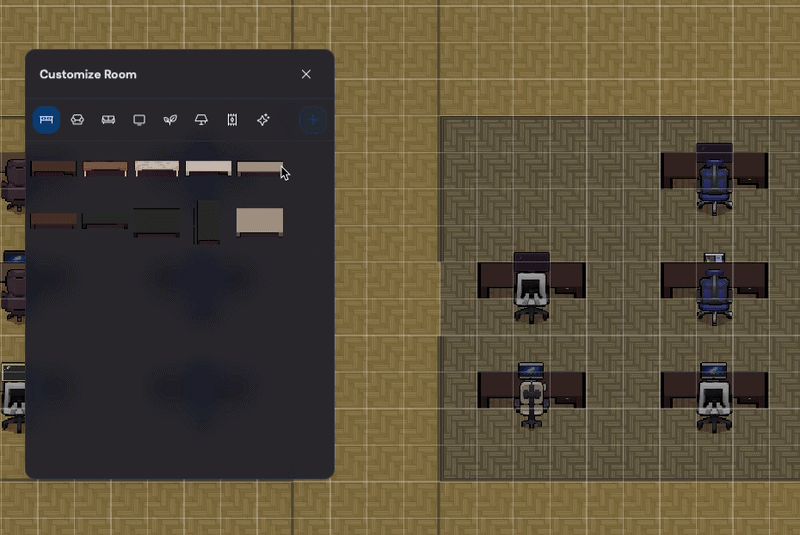
Figure 3. Placing a desk, monitor, and chair in the virtual space.
Move, Rotate, or Delete Items
To adjust or remove a placed item:
-
Click any placed item to select it.
-
Choose an action:
- Move — drag the item to a new position.
- Rotate — turn the item to adjust its orientation.
- Delete — remove the item from the space.
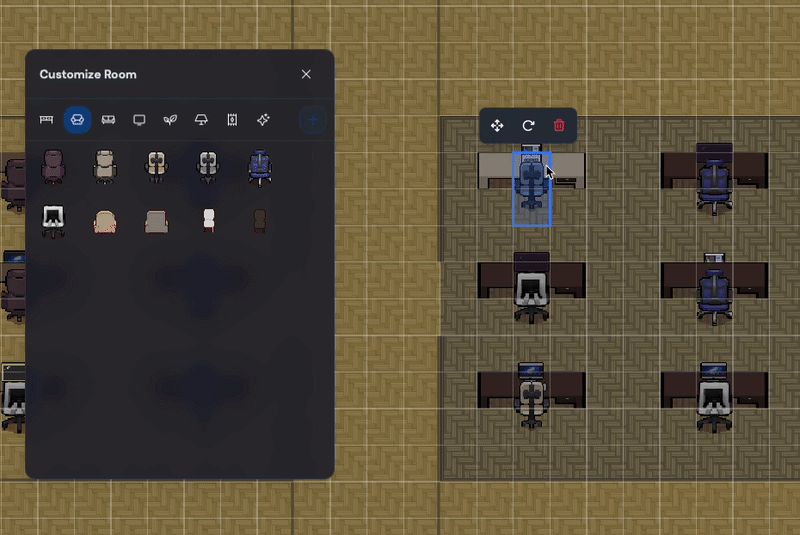
Figure 4. Moving, rotating, and deleting a placed item.
Changes save automatically — no need to confirm or save manually.
Your layout persists between sessions — set it up once and it stays exactly as you left it.