Manage Spaces
The Spaces screen is where administrators enter, share, and manage every virtual space in the organization — all without entering the space itself.
Read the Spaces Screen
To get to the Spaces screen:
- Open the 2gether Portal URL in your browser and log in. The Spaces screen appears:
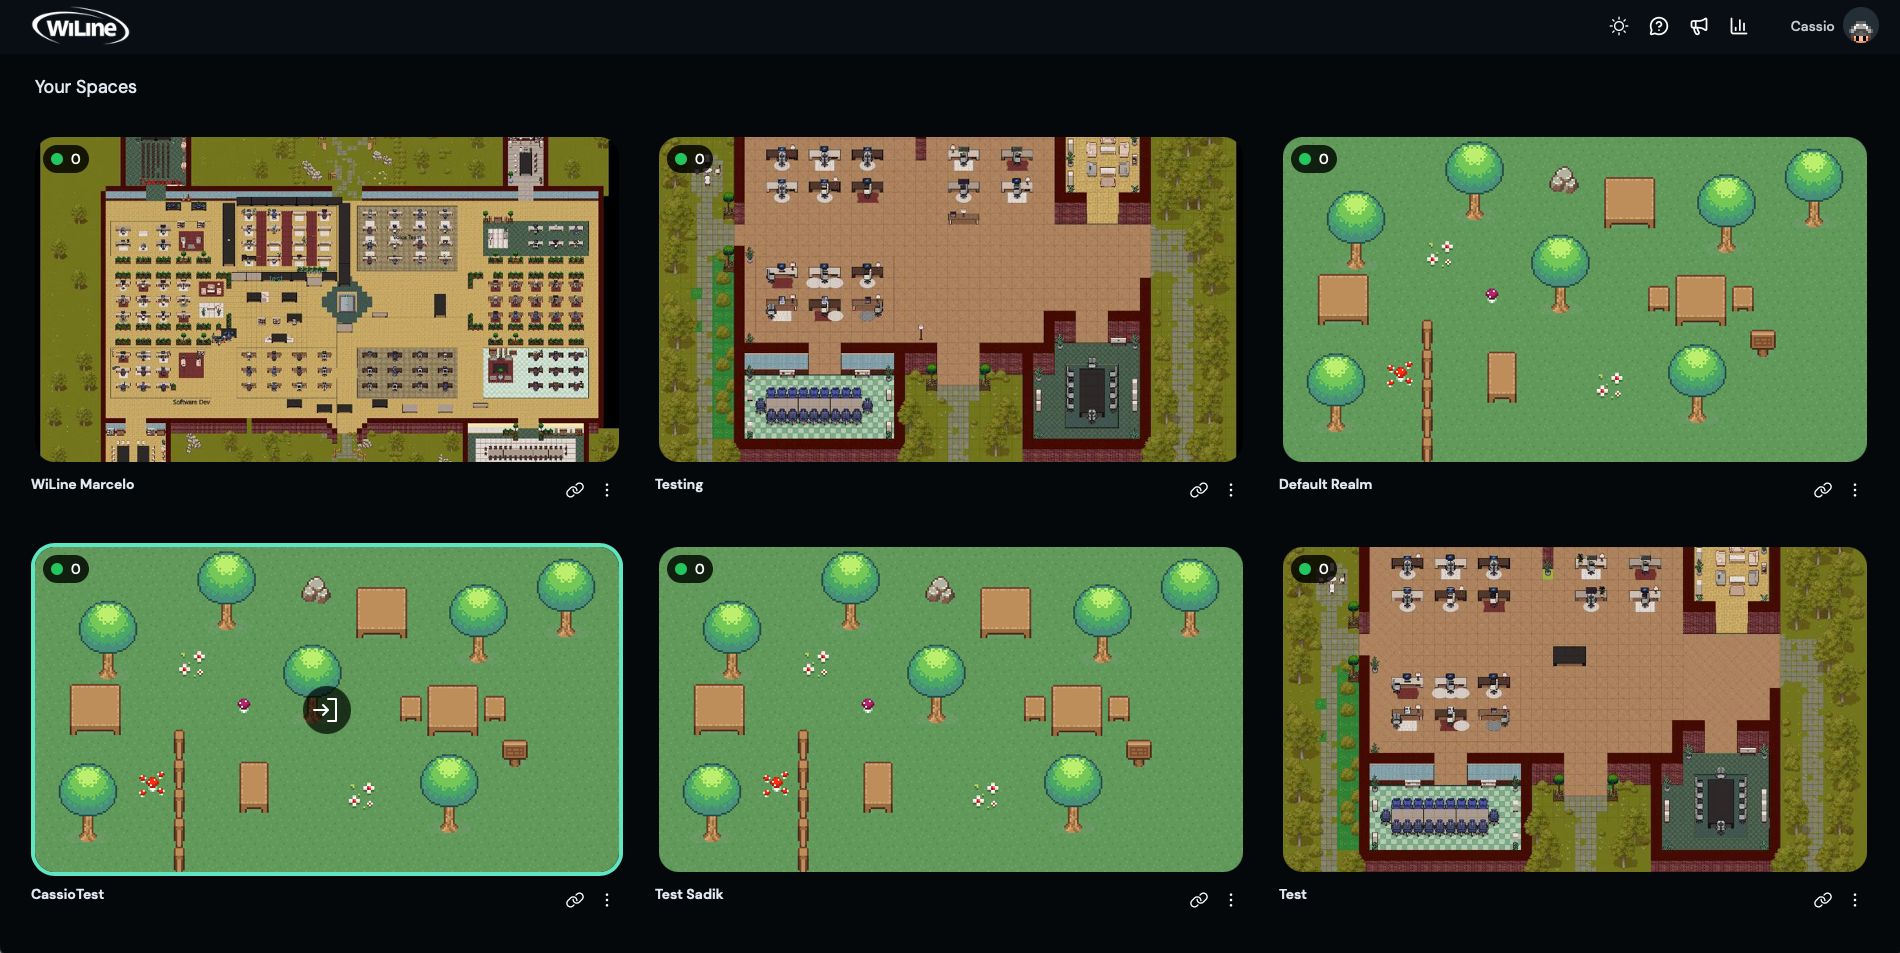
Each space appears as a card containing:
- Space name and preview image.
- Copy Link button — generates a direct invitation link.
- Three-dot menu (⋮) — opens Edit Map and Manage options.
Enter a Space
To enter a virtual space:
- Locate the space on the Spaces screen.
- Click the space card. The virtual office opens.
Share an Invitation Link
To share a direct link to a space:
- Click the Copy Link icon on the space card.
- Share the URL with participants.
Anyone with the link and access permissions can open the space directly.

Open Space Options
To access management options for a space:
- Hover over a space card.
- Click the ⋮ icon.
- Select an option:
| Option | What it does |
|---|---|
| Edit Map | Open the map editor for this space. See Edit Map. |
| Manage | Add seats or manage user access for this space. See below. |
Add Seats
Use this when the team grows beyond the current seat count.
-
Click ⋮ → Manage on the space card.
-
Click Add seats.
-
Review the current values:
Field Description Current Seats currently provisioned. After New total after adding the requested seats. Map cap Maximum seats allowed by the starting map. -
Enter the number of seats to add.
-
Review the billing breakdown:
- Added seats are charged immediately, prorated for the days remaining in the billing cycle.
- From the next cycle, the full new total is billed at $7 per seat per month.
Example: 5 seats at $7 per seat, prorated for 25 of the 31 days left in the cycle, is charged today.
-
Confirm the amount and click Add seats.
The cycle end date is shown in the billing breakdown so the prorated amount is clear before confirming.
Manage Users
Use this to invite new members or control who has access to a specific space.
- Click ⋮ → Manage on the space card.
- The panel shows Seat usage at the top — users currently assigned versus total seats.
Invite by Email
To invite a new user by email:
- Click Invite by email.
- Enter the email address.
- Confirm. The invitee receives an email with a link to join the space.
Add or Remove Organization Users
The Organization users table lists everyone in the organization.
| Column | Description |
|---|---|
| Name | Display name. |
| Registered email address. | |
| Login | Username used to sign in. |
| Access | Whether the user has access to this space. |
| Action | Button to add or remove access. |
- To add a user, click the action button in their row. Access is granted immediately.
- To remove a user, click the action button in their row. Access is revoked immediately.
- Keep seat count close to the active user count — unused seats still incur the monthly charge.
- Use Invite by email for new hires before their organization account is ready.
- Remove access immediately when a team member leaves a project or the organization.
All space management is available from the Spaces screen — no need to enter a space to manage it.