Edit the Map
The Edit Map editor lets administrators build and customize the layout of a virtual space — place tiles, arrange furniture, configure floors, and set up special zones. Nothing is committed until Save is clicked.
Open the Editor
To open the map editor:
- Open the 2gether Portal URL in your browser and log in. The Spaces screen appears.
- From the Spaces screen, hover over the space to edit.
- Click the ⋮ icon.
- Select Edit Map.
The editor opens with the current layout loaded.
Follow the Edit Workflow
For large edits, work in this order to avoid placing tiles on the wrong floor or in the wrong layer:
- Select the correct floor.
- Place ground tiles first — they form the base layer.
- Add walls and doors to define room boundaries.
- Place furniture, electronics, and decor.
- Configure special tiles if needed.
- Save and review from inside the space.
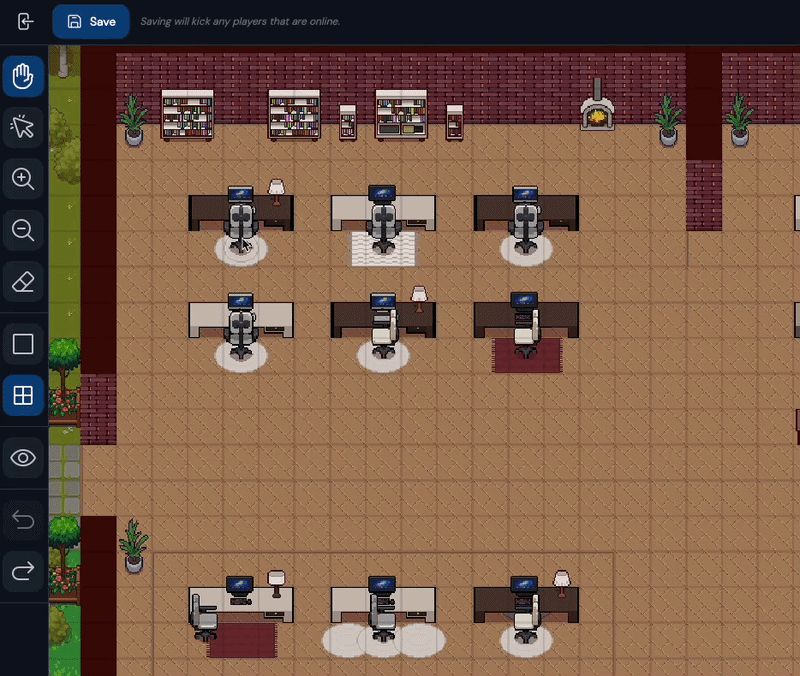
Use the Left Toolbar
The left toolbar contains all tools for navigating, placing, and editing tiles.
| Tool | What it does |
|---|---|
| Hand | Pan around the map without placing tiles. |
| Select | Select a tile or object already on the map. |
| Zoom In | Zoom in for precise placement. |
| Zoom Out | Zoom out to see the full layout. |
| Eraser | Click a tile to remove it. |
| Single Tile | Place one tile at a time. |
| Rectangle | Click and drag to place a rectangular area of tiles at once. |
| Toggle Special Tiles | Show or hide special tile overlays. |
| Undo | Revert the last action. |
| Redo | Restore the last undone action. |
| Single Erase | Remove one tile without switching tools. |
| Special Tiles | Switch to special tile placement mode. |
Use Rectangle mode for all ground and flooring work — it fills large areas in one drag instead of placing tiles one by one.
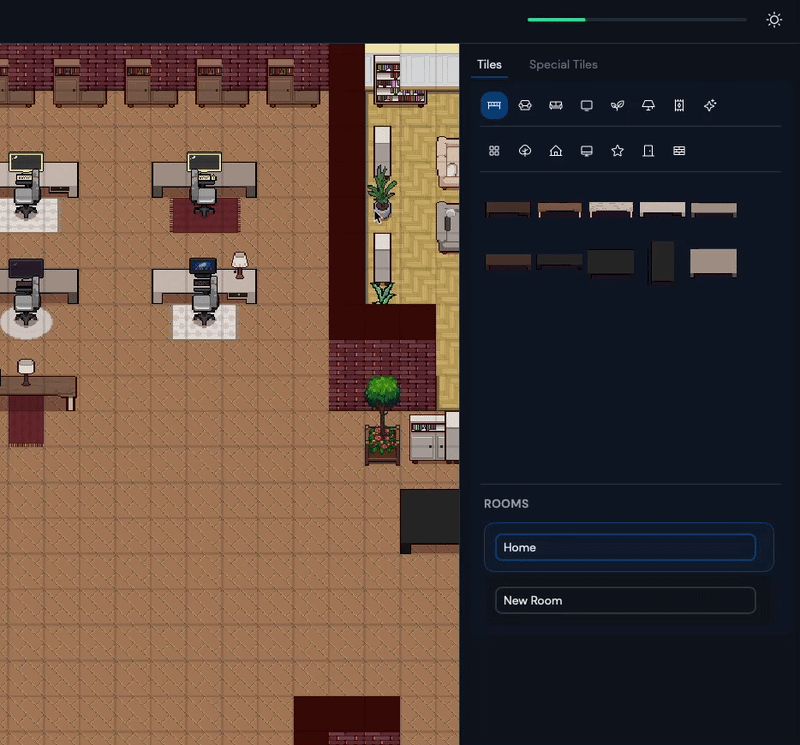
Browse Tiles
Select a category in the right panel, choose a tile, then click or drag on the map to place it.
Furniture and Objects
| Category | Contents |
|---|---|
| Desks | Work desks, standing desks |
| Furniture | Sofas, shelves, cabinets |
| Electronics | Monitors, TVs, whiteboards |
| Plants | Indoor plants, trees |
| Lighting | Lamps, ceiling fixtures |
| Carpets | Area rugs, floor mats |
| Decor | Art, signs, accessories |
Environment and Ground
| Category | Contents |
|---|---|
| Ground | Base floor tiles and surfaces |
| Grasslands | Outdoor grass and nature tiles |
| Village | Paths, structures, exterior elements |
| Extra | Doors and walls |
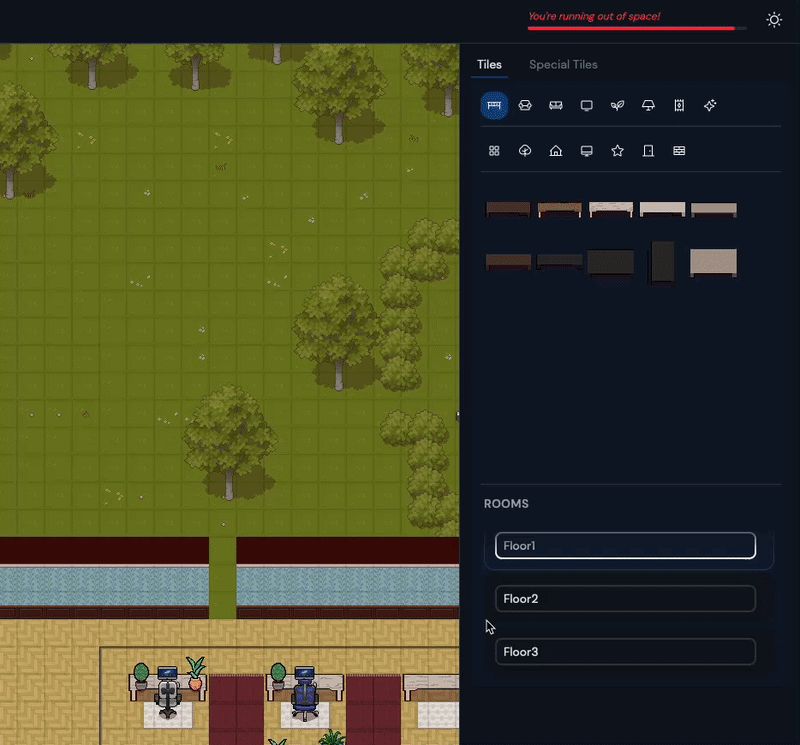
Manage Floors
The editor supports up to three independent floors. Select the correct floor before placing tiles — tiles do not carry over between floors.
Use the floor selector in the right panel to switch between First Floor, Second Floor, and Third Floor.
Place Special Tiles
Click Special Tiles in the right panel or in the left toolbar to enter special tile placement mode.

| Special Tile | What it does |
|---|---|
| Private Area | Only participants inside this zone can see and hear each other. |
| Impassable | Participants cannot walk through this area. |
| Teleport | Moves a participant to another location in the space when entered. |
| Label | Places a text label at a specific point on the map. |
Special Tiles can be placed in the editor but are not yet fully active in the live space.
Save Changes
Click Save when done. The updated layout takes effect immediately for anyone entering or refreshing the space.
Changes are not auto-saved. Closing or refreshing the browser before saving discards all unsaved work.
Save changes often and test the layout from inside the space before sharing it with the team.